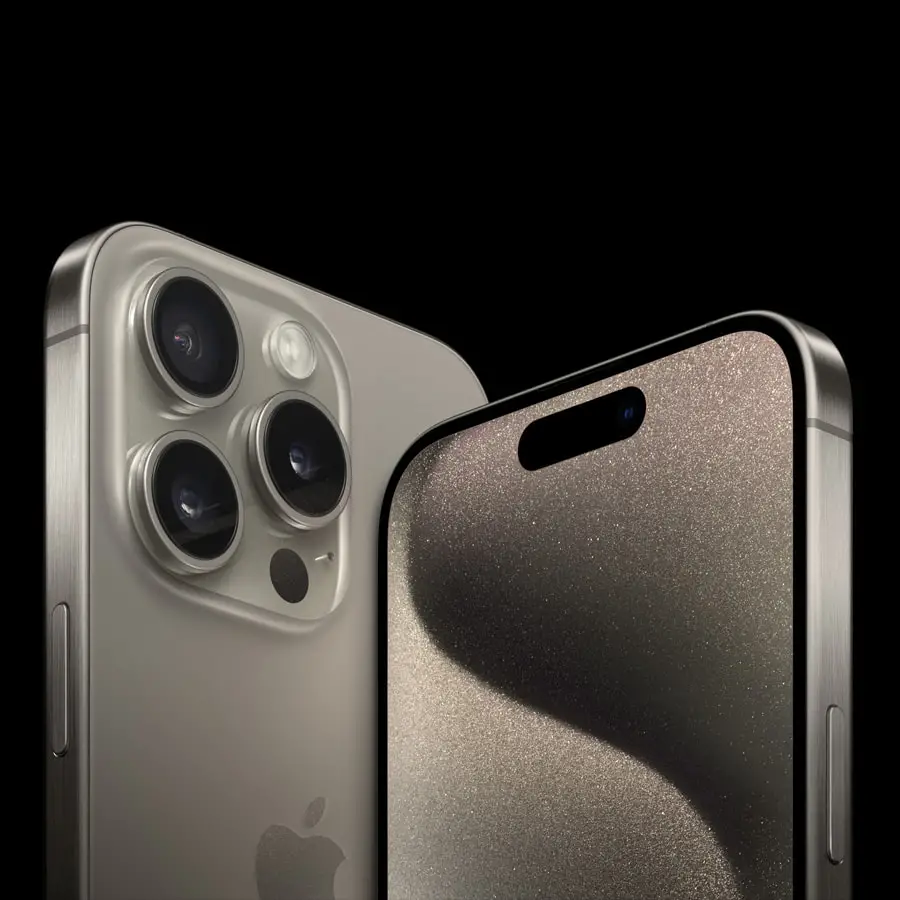
20 tips for photography with iphone
This article is about tips for photography with iPhone. iPhone photography is all about using your trusty smartphone to snap awesome pics. It’s like having a little camera in your pocket 24/7. Whether you’re capturing everyday moments or epic sunsets, your iPhone can do the job. Plus, you don’t need to be a pro – just a few cool tricks and you’ll be taking stunning shots in no time. So, grab your iPhone and let’s dive into the world of casual, on-the-go photography!
iphone photo tips
1. Mastering Composition
- Rule of Thirds: Use the grid feature on your iPhone to apply the rule of thirds. Position the main subject along the gridlines or at their intersections to create a balanced and visually appealing composition.
- Leading Lines: Look for natural lines, such as roads, bridges, or pathways, that lead the viewer’s eye into the photo. These lines add depth and guide the viewer’s attention.
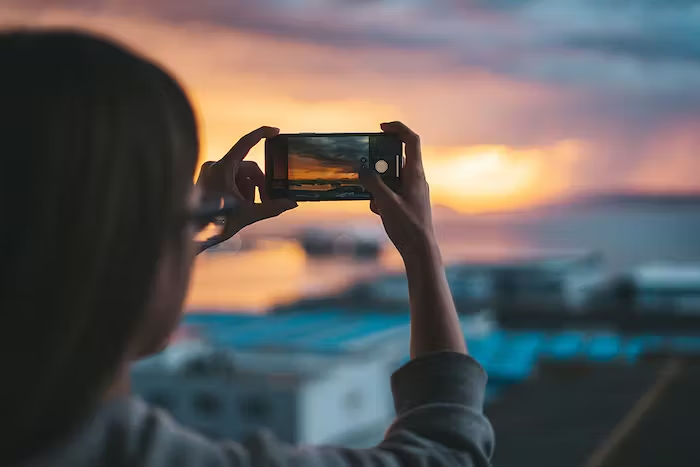
2. Lighting Matters
- Golden Hour: Make the most of the soft, warm lighting during the golden hour, which occurs shortly after sunrise and before sunset. The diffused light creates beautiful shadows and enhances your photos.
- Avoid Harsh Light: Direct sunlight can create strong shadows and overexposed areas. Whenever possible, shoot in shaded areas or use a diffuser to soften the light.
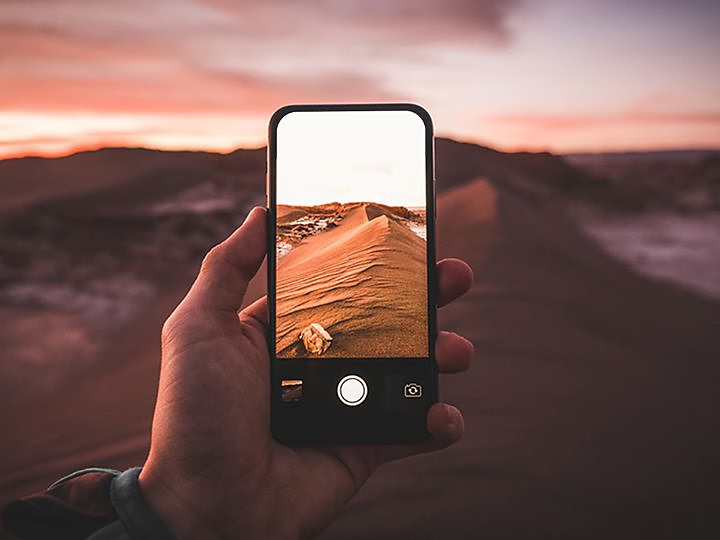
3. Focus and Exposure Control
- Tap to Focus: Tap on the screen to set the focus and exposure point. This allows you to control what part of the image is in focus and adjust exposure to prevent under- or overexposure.
- Lock Focus and Exposure: After tapping to focus, hold your finger on the screen until the AE/AF Lock indicator appears. This ensures the focus and exposure settings stay constant, which is especially useful for consistent results in challenging lighting conditions.
4. Use Burst Mode
- Capture Action: For moving subjects or action shots, use burst mode by holding down the shutter button. This takes a rapid series of photos, increasing your chances of capturing the perfect moment.
- Select the Best Shot: After shooting in burst mode, go through the images and choose the one with the best composition and timing.
5. Proximity and Perspective
- Get Closer: Move physically closer to your subject whenever possible. This can create more impactful and detailed shots.
- Change Angles: Experiment with different angles by shooting from high above or down low. Changing your perspective can add creativity to your photos.
6. Edit and Enhance
- Use Editing Apps: Enhance your iPhone photos further with editing apps like Snapseed, Adobe Lightroom, or VSCO. You can adjust exposure, contrast, colors, and apply filters to make your photos pop.
- Avoid Overediting: While editing can improve your photos, be careful not to overdo it. Maintain a natural look and feel, as overly processed images can lose their authenticity.
7. Clean the Lens
- Keep It Clean: The lens of your iPhone can accumulate smudges and dust, affecting image quality. Regularly clean the lens with a microfiber cloth to ensure your photos are sharp and clear.
8. Practice and Experiment
- Practice Makes Perfect: The more you use your iPhone for photography, the better you’ll become. Experiment with different techniques, styles, and subjects to develop your skills and find your unique photographic voice.
- Learn from Others: Study the work of other photographers, both amateur and professional, for inspiration and to gain insights into composition, lighting, and storytelling.
9. Use Portrait Mode for Depth
- Bokeh Effect: If you have an iPhone with a dual-camera system or a newer model with computational photography capabilities, utilize Portrait Mode. It creates a pleasing bokeh effect by blurring the background, making your subject stand out. This mode is excellent for portraits and close-up shots.
- Adjust Depth Effect: After taking a portrait shot, you can edit the depth effect in the Photos app. This allows you to fine-tune the background blur, providing more control over the final look of your photo.
10. Utilize Live Photos
- Capture Moments: Live Photos capture a few seconds of video before and after you press the shutter. These can be particularly useful for capturing candid moments, as they allow you to select the perfect frame from the live sequence.
- Create Long Exposures: You can use Live Photos to create long-exposure shots. In the Photos app, swipe up on a Live Photo and choose “Long Exposure” to transform motion into a beautifully blurred effect.
11. Experiment with Night Mode
- Low-Light Photography: iPhones with Night Mode can produce stunning low-light photographs. It automatically detects low-light conditions and extends the exposure time to capture more light, resulting in brighter and clearer night shots.
- Use a Tripod: For the best results in Night Mode, use a tripod or a stable surface to avoid any camera shake. This allows for even longer exposures, resulting in well-lit, noise-free images.
12. HDR for Dynamic Range
- HDR (High Dynamic Range): The iPhone’s HDR mode captures multiple exposures and combines them to create a photo with a broader range of colors and tones. Use HDR when dealing with scenes that have both bright and dark areas.
- Manual HDR Control: If you prefer manual control, you can disable or enable HDR in the Camera settings. This gives you more freedom to decide when to apply HDR based on the specific scene.
13. Customize Settings
- Adjust Camera Settings: In the Camera app, you can customize settings like exposure, focus, and white balance. Tap and hold on the screen to lock exposure or focus on a specific point. Additionally, you can adjust the exposure slider by swiping up or down.
- Third-Party Camera Apps: Explore third-party camera apps that provide advanced features and manual controls. These apps often offer more flexibility and creative options for your photography.
14. Tell a Story
- Narrative Photography: Try to tell a story with your photos. Whether you’re capturing an everyday moment or a special event, think about the narrative you want to convey and frame your shots accordingly.
- Documentary Style: Embrace a documentary style by capturing candid, unposed moments. This approach often leads to more authentic and emotionally resonant photos.
15. Organize Your Photos
- Use Albums: To keep your iPhone’s photo library organized, create albums for different subjects, events, or themes. This makes it easier to locate specific photos and showcase your work effectively.
- Delete Unwanted Photos: Regularly review and delete photos that don’t meet your quality standards or don’t hold sentimental value. This helps maintain a clutter-free and efficient photo library.
16. Back Up Your Photos
- iCloud and Other Cloud Services: Set up iCloud or other cloud services to automatically back up your photos. This ensures that your precious memories are safe even if your device is lost or damaged.
- External Storage: Consider transferring your photos to an external storage device or computer for an additional layer of security.
17. Explore Accessories
- Lenses: Consider using attachable lenses for your iPhone to experiment with wide-angle, macro, and fisheye effects. These lenses can add versatility to your photography and enhance your creative options.
- Tripods and Stabilizers: A tripod or stabilizer can help you achieve steady shots, especially in low-light conditions or when capturing time-lapse or long-exposure photos.
18. Seek Feedback and Learn
- Share Your Work: Share your photos with friends, family, or on social media. Constructive feedback can help you improve your skills and develop your unique style.
- Join Photography Communities: Explore online photography communities and forums where you can learn from other photographers, participate in challenges, and gain inspiration.
19. Embrace Editing Tools
- HDR and Filters: Experiment with HDR (High Dynamic Range) and filters within the Camera app to add creative effects to your photos. These can enhance color and tone or create specific moods.
- Third-Party Editing Apps: Explore the possibilities offered by third-party editing apps like Adobe Lightroom, Snapseed, and VSCO. These apps provide advanced tools for retouching and enhancing your images.
20. Keep Your iPhone Clean and Protected
- Clean the Lens: Regularly clean your iPhone’s camera lens to ensure that your photos remain sharp and free from smudges or dust.
- Use a Protective Case: Consider using a sturdy case to protect your iPhone from accidental drops or damage, ensuring that your camera remains in good working condition.
faqs about iphone photography
Q1: How do I improve the quality of my iPhone photos?
A: You can enhance your iPhone photos by paying attention to composition, lighting, and focus. Try to shoot during the golden hour for soft lighting, tap to focus on your subject, and use the rule of thirds for better composition.
Q2: What’s the best app for editing iPhone photos?
A: There are many great photo editing apps for iPhone, including Snapseed, Adobe Lightroom, and VSCO. They offer a wide range of tools for enhancing your photos.
Q3: How can I avoid blurry photos on my iPhone?
A: To avoid blurry photos, make sure your iPhone is stable when taking a shot. You can use a tripod or brace your arms against a solid surface. Additionally, use the AE/AF Lock to keep focus and exposure consistent.
Q4: What is the best way to back up my iPhone photos?
A: You can back up your iPhone photos using iCloud or other cloud services like Google Photos. Additionally, transferring your photos to a computer or external storage provides an extra layer of security.
Q5: How can I take good low-light photos with my iPhone?
A: To capture quality low-light photos, use the iPhone’s Night Mode (if available) or a tripod to steady the camera. Avoid using the flash, as it can produce harsh lighting and shadows.
Q6: What’s the difference between Portrait Mode and regular photos on the iPhone?
A: Portrait Mode creates a bokeh effect by blurring the background, while the subject remains sharp. Regular photos capture the entire scene in focus. Portrait Mode is great for creating a professional, shallow depth-of-field look in your photos.
Q7: Can I use external lenses with my iPhone for photography?
A: Yes, you can attach external lenses to your iPhone for different effects, such as wide-angle, macro, and fisheye. These lenses can add creativity and versatility to your photography.
Q8: How can I organize my iPhone photos effectively?
A: You can organize your photos by creating albums in the Photos app. This makes it easier to find specific photos and keep your photo library clutter-free.
Q9: What’s the best way to capture action shots on my iPhone?
A: To capture action shots, use burst mode by holding down the shutter button. This takes a series of rapid photos, increasing your chances of getting the perfect moment. Review and select the best shot afterward.
Q10: How do I achieve a professional look with my iPhone photography?
A: To achieve a professional look, focus on composition, lighting, and editing. Pay attention to details like framing, leading lines, and the rule of thirds. Additionally, consider post-processing using editing apps to fine-tune your photos for a polished look.
How to use find my iPhone feature – if you lost phone
You may also like

How to forward calls to another phone number on safaricom – 3 easy steps
Last updated on June 9th, 2023 at 07:53 pm This article is about how to forward calls to another pho

how to start Web Hosting In Kenya – 5 tips
Last updated on June 10th, 2023 at 01:21 pm This article is about how to start Web Hosting In Kenya.

Best cyber security companies in kenya
Last updated on June 9th, 2023 at 09:42 pm Here is a list of the best cyber security companies in Ke
